Top tips for styling successful still life and flat lay images
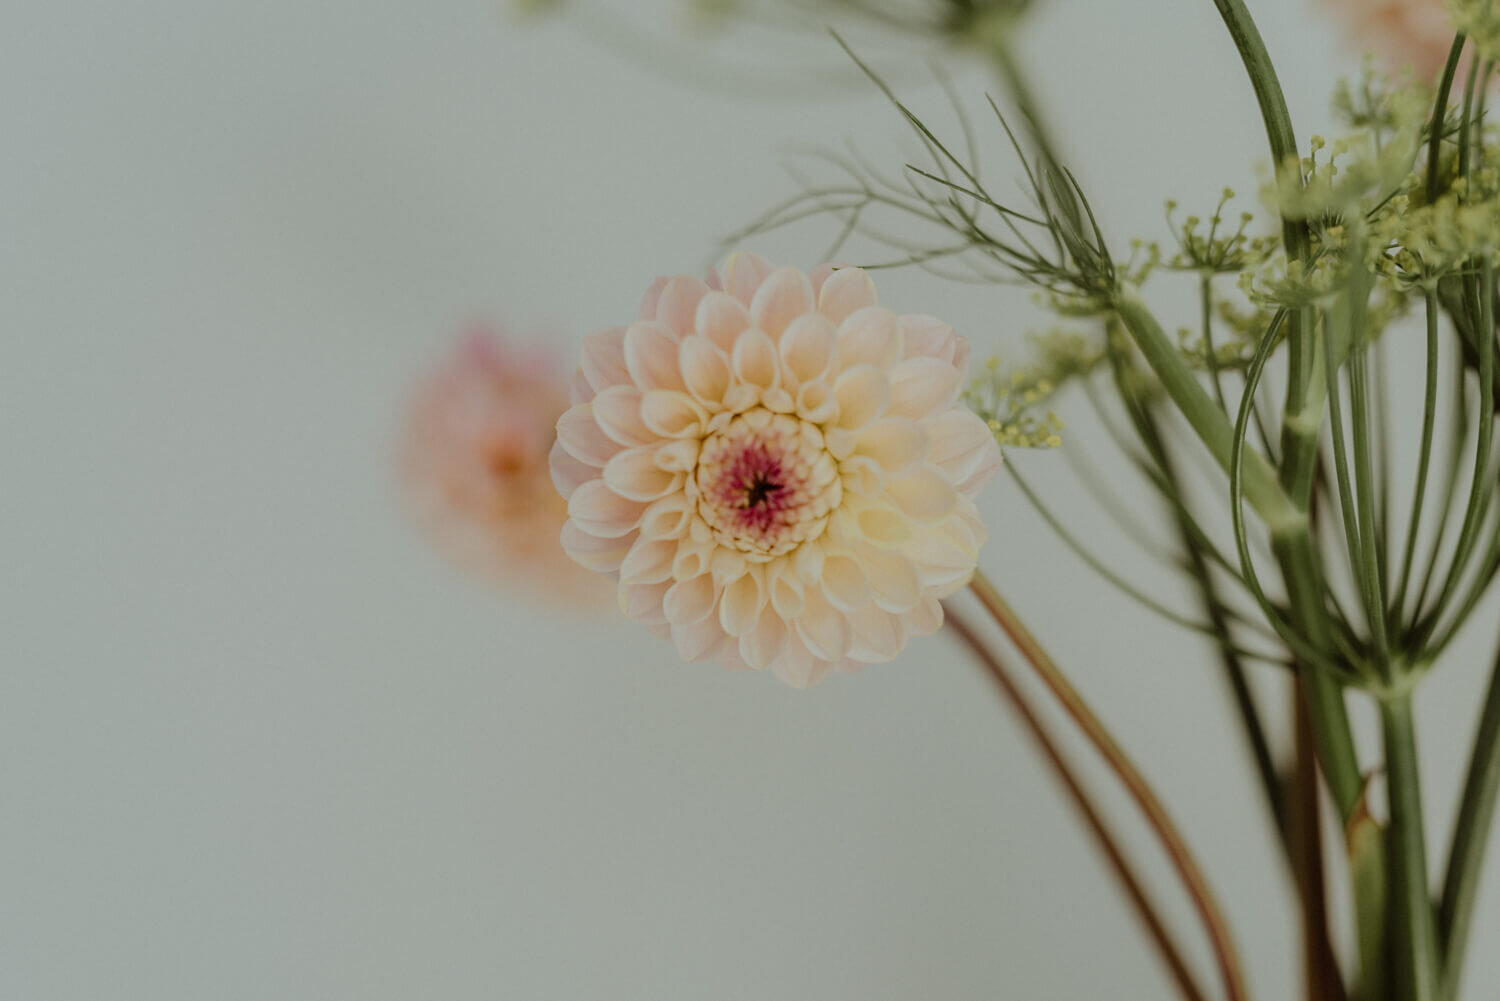
One of my favourite outlets for my styling and photography skills is to create still life and flat lay images, both for my clients but also for myself. I especially love creating interesting set ups with flowers from my garden. You don’t need any special equipment to get started, just an awareness of how to use the natural light. Even a phone camera can produce lovely results good enough for Instagram for your own enjoyment.
CHECKLIST FOR CREATING GREAT STILL LIFE AND FLAT LAY IMAGES
1. Choose your objects with care. Make sure they suite your style and work with your brand colours too if you have them (for example antique items won’t work if your style is ultra modern and clean).
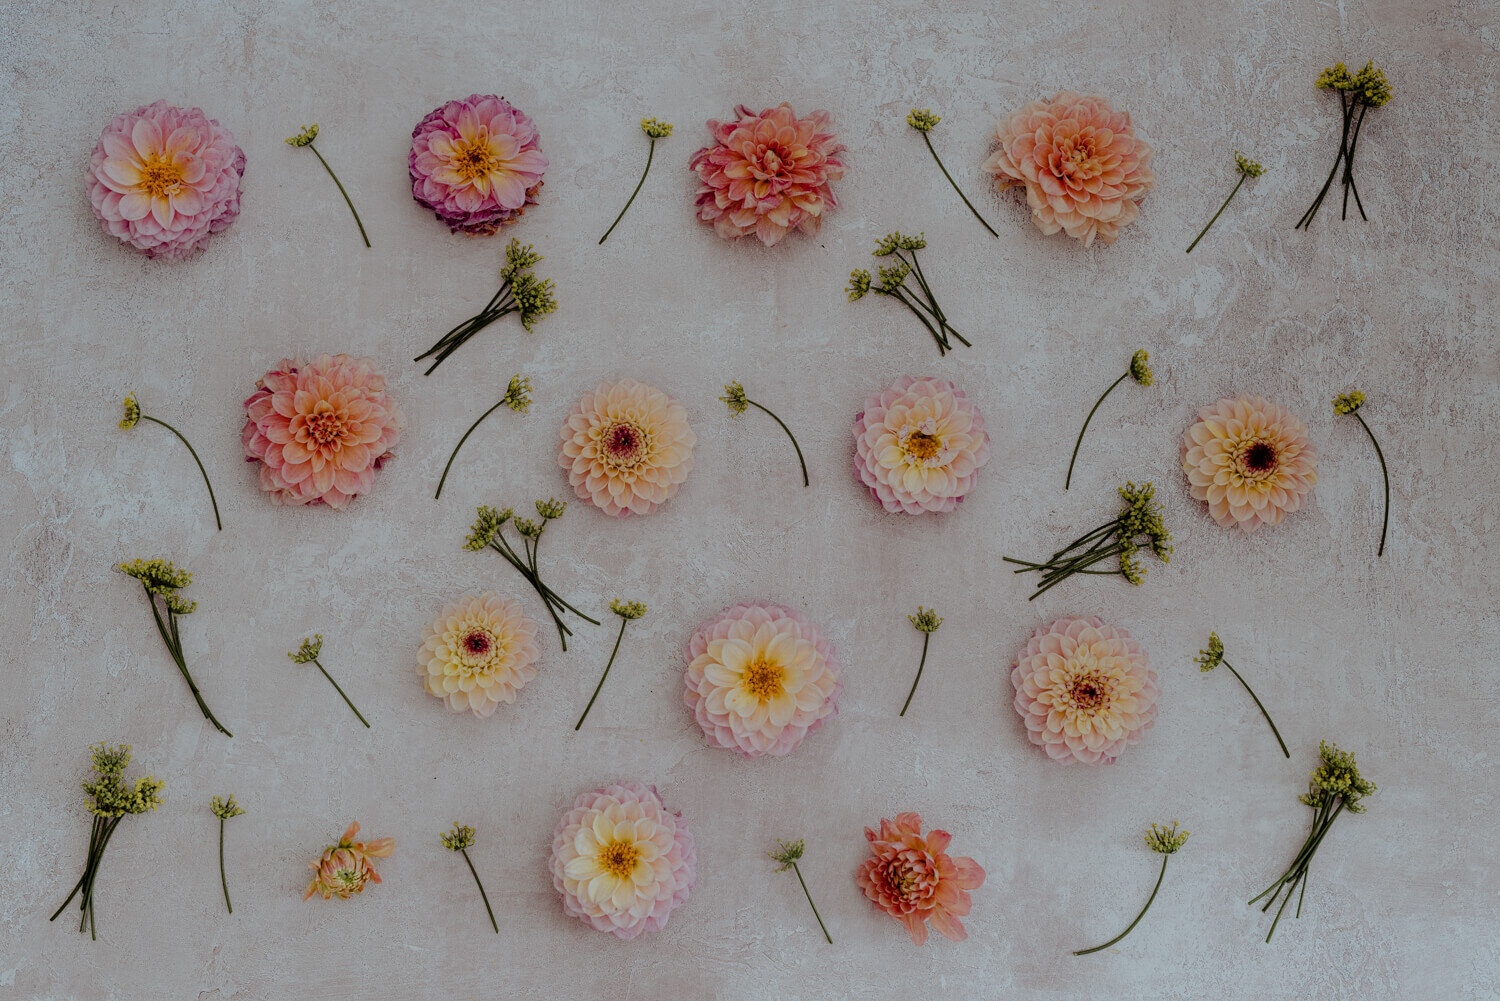
2. Go for a variety of textures, sized and shaped objects in a cohesive colour palette. Try to source more unusual items that people can start to recognise with your business or style, rather than some of the more usual flat lay staples that have been overused. You don’t want your photographs to look like stock images.
3. Once you have chosen your objects think about your background. There are some great styling boards out there, as well as ones you can paint yourself, but an ironed flat piece of fabric, wallpaper or wooden or tiled floor can work just as well if you want to add variety.
4. Laying things out on the floor for flat lays can be the easiest way to photograph them - if you do it on a table top you will likely have to stand on a step ladder to get high enough above the collection to get good images. For general still life's it would be best for these to shoot straight on, but you can vary angles for interest.
5. Make sure you set it up somewhere with carefully chosen light (I usually shoot mine next to my patio doors), and I have a white or black foam board to hand too to either brighten or darken areas of my image. Reflectors can also be useful for extra lighting effects (eg a 5-in-1 with gold, silver, grey, black and white). They can help direct light onto a focal point, as well as warming up the light or cooling it down.
6. Try to choose a background that offers a good contrast for your objects so that they stand out and don't get lost, eg dark objects against lighter backgrounds and vice versa. Clean lines against patterned backgrounds and vice versa.
7. Composition is important – pay attention to the rules of thirds and leading lines. You can often set your camera or smart phone to show grid lines on an image to hep you compose more effectively.
8. Use groups of 3s or 5s – odd numbers of things always work better than even.
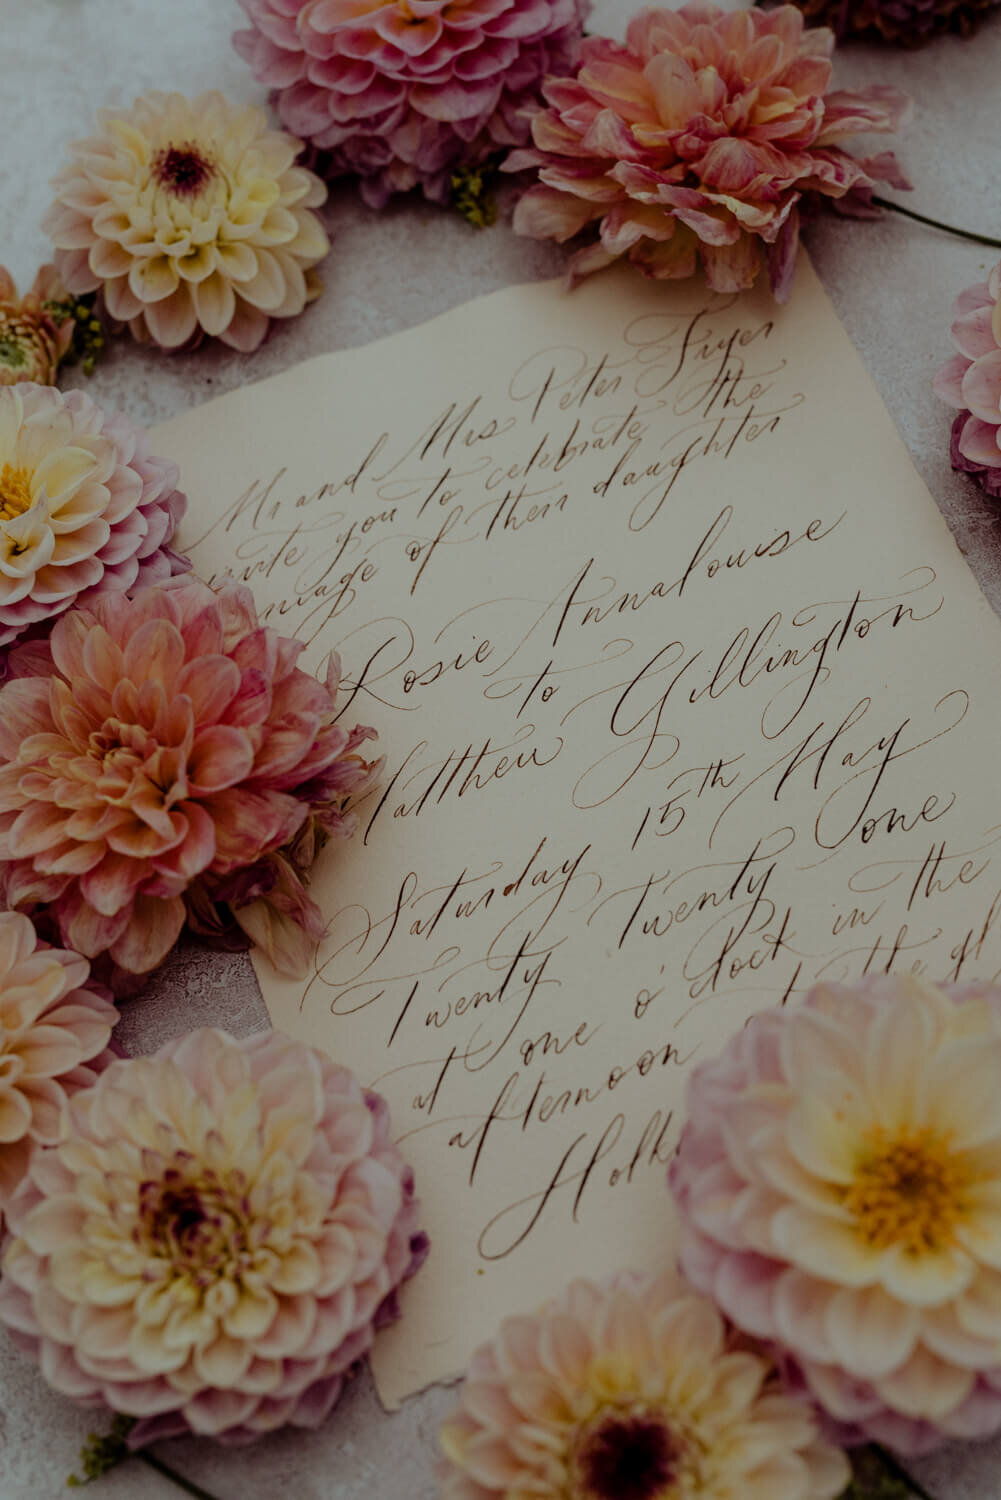
9. Try to use a variety of objects - so if you are using stationery with hard straight lines you can soften it with flowers or ribbon. Use items to enhance the story you are telling – be it a beautiful hand calligraphed word or quote, a ring, invitation or piece of jewellery.
10. Don’t be afraid to play with negative space – sometimes not filling all the available space can be just as effective.
11. Layers of items can be good too – you don’t have to just dot things about – make sure they connect in some way, be it a touch of a ribbon across an invitation suite, or a flower stem perhaps.
12. Play with multiple compositions of the same items in different ways – create a series that will give you Instagram content for weeks at a time!

13. Take a quick photo on your phone and check your layout – sometimes you can only see things aren’t aligned the way you’d like by seeing it on a screen – better to tweak there and then than have to reshoot the whole thing.
14. Think about taking different orientations of your flat lays – eg portrait sized for Pinterest, square for Instagram, landscape for your website or blog.
15. Invest in a decent digital camera and learn how to use it –you can pick up second hand DSLR cameras very cheaply until you get to grips with manual settings and want to invest properly.
16. Learn how to use Lightroom or Photoshop to edit your images to their best effect - again it’s worth investing in some expert specific tuition. Editing is often where the magic happens, but is no substitute for getting it right in camera first!
I hope you find these tips useful, if you’re interested in taking your photography to the next level then you can check out my photography course below.
